
Ever wanted to play around with Android, without actually buying an Android phone? Thanks to the Android x86 project you can. While Google only officially supports the ARM platform, a group of volunteers has ported it to x86. What’s more, it runs more or less seamlessly inside a virtual machine, so there’s no danger of accidentally messing up your main system.
The process is pretty straightforward.
0) Install VirtualBox. VirtualBox is a free virtual machine manager developed by Sun (now Oracle). It runs on Windows, MacOS X and Linux on x86 processors.
1) Get Android x86. As of March 2011, the latest version is based on Android 2.2 (Froyo). It is available for download from the Android x86 project. You’ll need the ‘generic’ ISO image (~80MB).
2) Create a new virtual machine in VirtualBox. For ‘Operating System’, select Linux, for ‘Version’ select Other Linux. Give it 512MB RAM. Let it create a new hard disk. The default size of 8GB is fine.
3) Start the new virtual machine. In the ‘First Run Wizard’, select the disk image you downloaded as the ‘Media Source.’
4) When the virtual machine starts, select ‘Installation – Install Android-x86 to harddisk’ from the bootup options. In the installation program, choose ‘Create/Modify partitions’. Using the left/right arrow keys and enter, select ‘New’, ‘Primary’ and accept the default size. Hit enter again to enable bootable, and then select write. When you enter ‘yes’ there will be a pause. After the pause, select ‘Quit’.
5) Once you’ve quite the disk partitioning tool, select the new virtual disk in the installer, and using the up and down arrows, select to format as ext3. Allow it to install the grub bootloader. Select to make /system read-write as well. It will then install the base system.
6) Once the install has completed successfully, select to ‘Create a fake SD card’. The default size is fine. It will take some time.
7) When it has finished, allow it to reboot. However, before it has started booting (again) from the installer image. Select CD/DVD from the ‘Devices’ menu, and deselect the installation CD image.
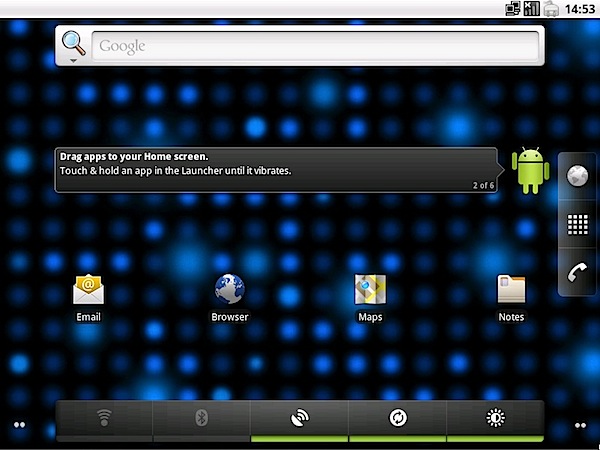
8) Start your virtual machine. If all went as it should, you will be greeted with an Android desktop in under 30 seconds.
Key mappings are a bit weird. ESC, left Windows, menu (next to right Windows) and Enter are the important ones. I’m still experimenting to figure out exactly what does what.
I’m still trying to figure out how to install the Android Market app.